
How to take amazing product photographs
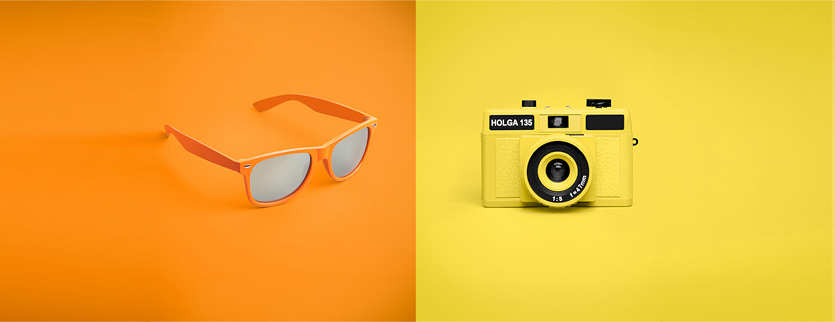
One of the key parts of setting up a website selling tangible products is ensuring that you have interesting and powerful photography that compels your customers to buy your products. Visual impact has a huge influence on our first impressions and product photography that looks unprofessional, dis-organised and is poorly executed can drive a customer away permanently.
Whilst it may be ideal to bring a professional on board, not every budget can stretch to such an expense. At the same time, quality product photography equipment is becoming more affordable, and with a few guidelines and a good dose of advice, it is more than possible for you to take high-quality, professional inventory pictures yourself. Here we have compiled some of the top tips for how to take amazing product inventory photographs.
Background
The background of your photograph can make or break the product. Most professionals opt for a plain white backdrop that is often known as the ‘infinity curve’ due to a bend that reveals no horizon or edging. This design draws the audience’s eye to the product, allowing it to be displayed as the sole focal point of the picture.
Light
The term ‘light’ is a word that you will always hear mentioned by professional and amateur photographers. This is because it plays probably the most vital role in the portrayal of any subject whether it is a candid family photograph or a serious product shot. The quantity and quality of light can make a huge difference in how a photograph turns out, but one fact remains – natural light always works best in any photograph.
Hard shadows or light are created when the size of the light source is comparatively small to the size of the subject. It is particularly harsh and causes many shadows and highlights any flaws in material, texture or design. As such hard shadows are the enemy of most product photographs.
By comparison, soft shadow or light are created when the size of the light source is greater than the size of the subject. Bathing the product in light distributes it more evenly which improves the appearance of the subject of the photograph by smoothing any flaws or imperfections.
Using a normal camera flash creates hard shadows, so instead it is advisable to purchase or make your own flash diffuser. The DIY version involved taping a white plastic bag or film over the camera flash which stops the light from the flash being centralised on one point.
Design and staging your pictures
Long gone are the days when prospective customers are happy to accept just one photograph of a product. Now they want to see absolutely everything from what it looks like in the packaging to how it looks when it is being worn or used. The greater the effort that you put into your product photography the greater the reward could be.
First of all consider the placement of the product. One picture face on is perfectly acceptable, but now think about how that product looks from the back, and the sides, and whilst you are there how about a bird’s eye view? If your customer cannot get into a store to physically hold a product then the next best thing is to show them as many angles as possible. Focus on any special features, unusual design elements and dynamic angles. Also think about showing it from a unique point of view to keep their interest.
Also think about how you are showcasing your product. Ideally you should show you product ‘in action’ in its natural environment as well as in standalone shots, for example a coffee table in a sitting room or a pair of shoes on a model. Placement is paramount as you can demonstrate to your audience how your product relates to them and fits into their world.
Providing a sense of scale is also useful, whether it be for furniture or clothing. If you are looking to sell wearable items then you should be illustrating how they look on real people, whilst making sure that you define the height/size of the model so your audience can understand how the item would look in relation to their own body. Similarly a wall clock could be shown in relation to a window to give the prospective buyer a better idea on what size to expect which could also help prevent disappointment.
Finally, when considering the design and staging of your pictures, try and tell a story if you can, from how the product looks in the box to how it looks in action. This applies to products where assembly is required as you can illustrate exactly how much building commitment is required to create the final assembled product! This encourages the customer to trust you as you show them exactly what they can expect every step of the way.
Get the correct tools
One of the biggest mistakes made by amateur photographers is motion blur. This can be the tiniest of movements made by the human hand during the taking of a photograph, but can cause a significant effect in photographs. The closer you are to your subject, the higher the risk of motion blur. Purchasing a tripod will give you much more stability and reduce the number of unusable photographs.
Show all of the options
If your product is available in a number of finishes, colours or materials then make sure that you show these in individual photographs. Interpretation and expectation can be the downfall of many online orders. In order to minimise disappointment, show your customers exactly what colour blue they can expect to receive. For example, IKEA shows three different photographs for each of its colour and finish variants.
Go into detail – microscopic detail!
Well almost! Using the macro option on your camera will allow you to focus in on small objects and details whilst putting the rest of the image into soft focus. It is a great way to add a new and unseen dimension to your product images.
If you are unfamiliar with the macro setting, the function image most commonly looks like a flower or tulip, which is why it is sometimes referred to as ‘flower power’. If you are in any doubt, consult your camera guide.
Keep it consistent & edit carefully
One of the best ways to create a professional looking website is to ensure that all of your photographs are consistent. Use the same background, lighting, sizing and details on every picture.
Setting up picture template sizes can be a great help as you can format your photographs to fit these specific sizes to ensure consistency throughout the site. Thumbnails are useful for store fronts or category pages, whilst larger pictures are better for product pages. If you are providing large photographs, go as large and as high resolution as possible, keeping it full screen size as a maximum.
Photo editing software like Photoshop can be a great tool to help you get the most from your pictures, but be careful not to edit them too much or you risk them looking fake and unbelievable.
There are countless creative ways that you can undertake your own product photography, but the most important element to remember is to illustrate exactly how your product can fit into your customers world by making it believable, relatable and most importantly, desirable.